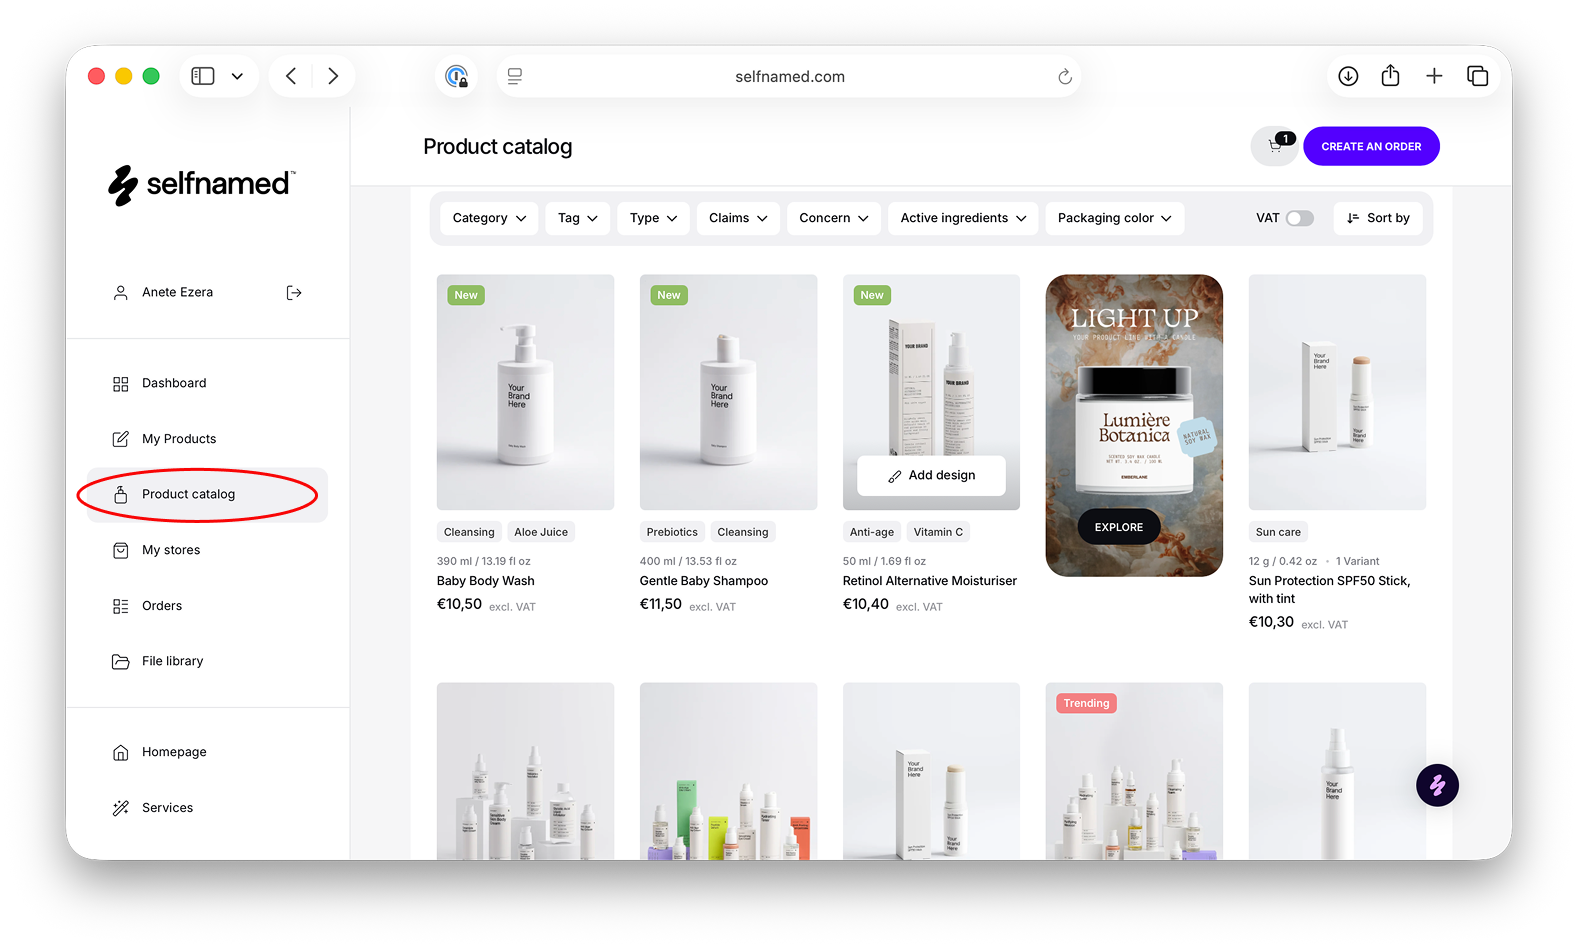
Woocommerce
Step 01: Connect Your Store
Integrate WooCommerce with Selfnamed
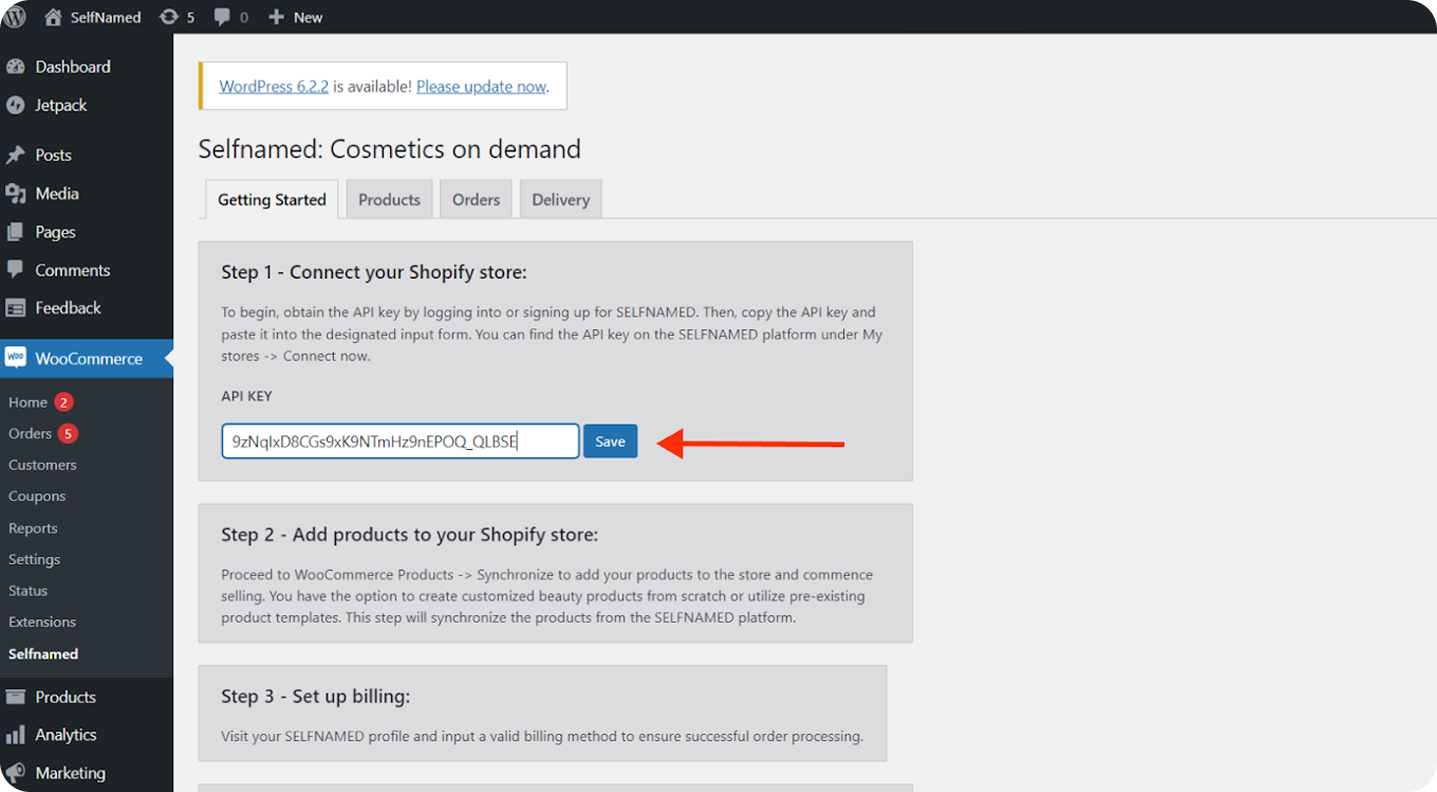
Before starting the integration, make sure your WooCommerce store meets the system requirements, including PHP version 7.4 or higher, WordPress version 6.1 or higher, and WooCommerce version 7.4.1 or higher. Download and install the Selfnamed plugin in your WordPress admin panel. Next, log in to your Selfnamed account and go to My Stores, select WooCommerce, and connect it. Once prompted, copy the API key from Selfnamed and paste it into the Getting Started section of the Selfnamed plugin in WooCommerce. Your store will now appear in Selfnamed. And to prevent connection issues, ensure your site is running on HTTPS.
Step 02: Add a Billing Method
Set Up Payments
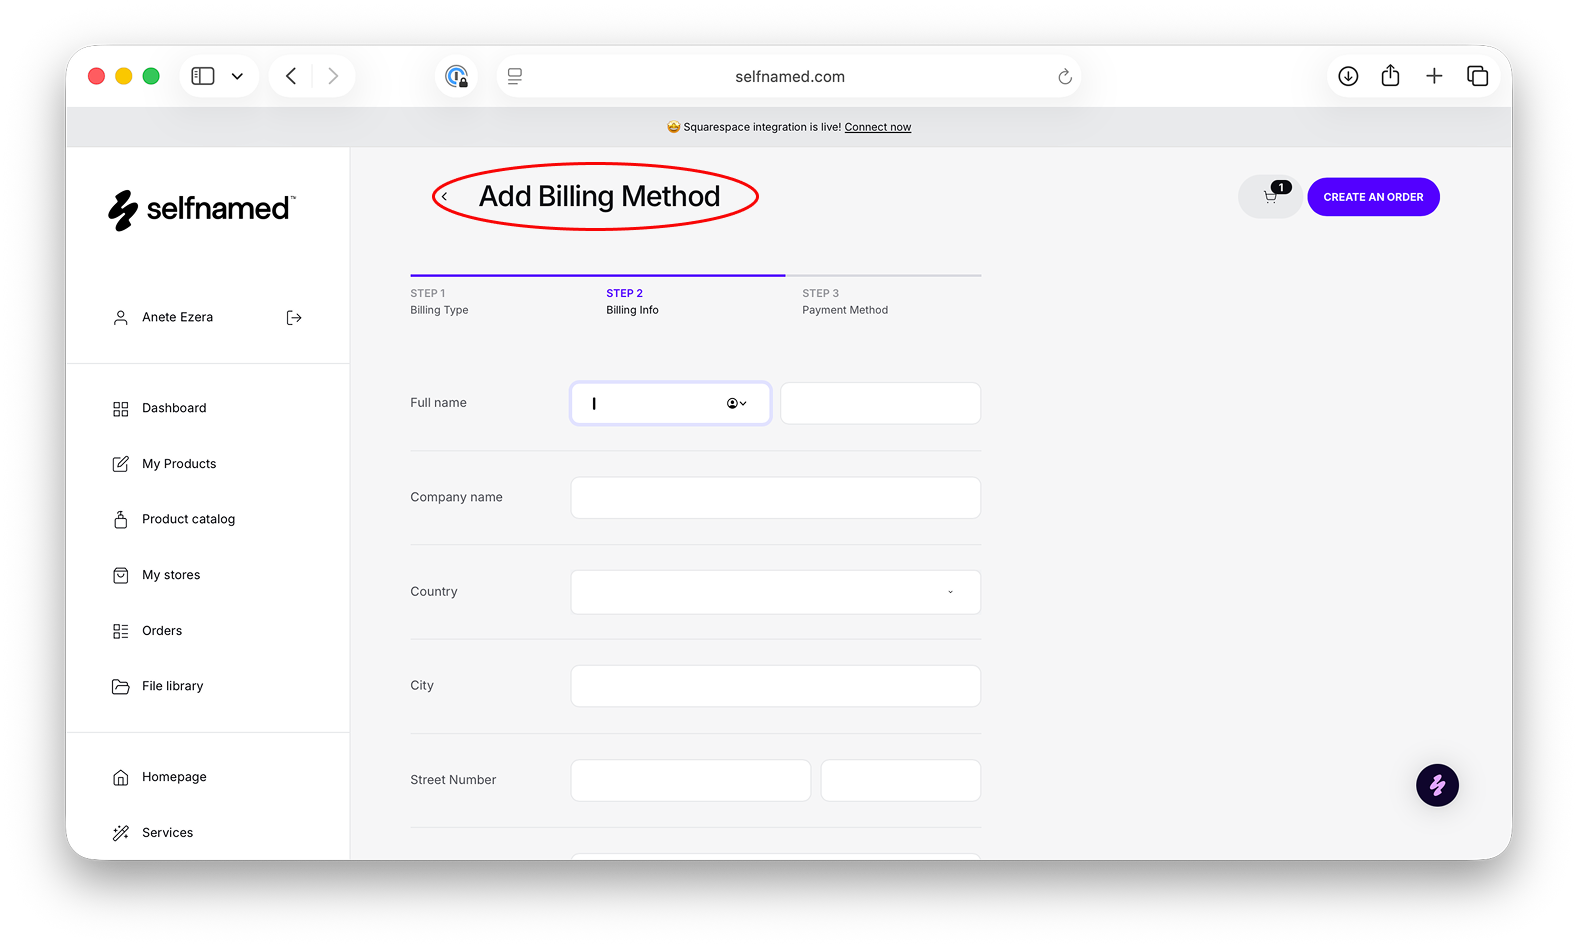
To enable payments, open your Selfnamed account and navigate to the Billing section, then select Add Billing Method. Assign a name to the billing method, choose the WooCommerce store you want to link, and enter your billing and payment details. Once everything is reviewed, click Confirm Preauthorization to complete the setup.
Step 03: Add Products & Sync
Upload Products and Keep Everything in Sync
Prepare your product designs by creating new ones or reusing existing designs. To add a new product, go to My Store, select Add Product, click Create Design, upload or edit your design, preview the mockups, and enter product details before adding it to your store. To use an existing design, go to My Designs, click the three dots, choose Add to Store, make any edits, and confirm.
To complete the WooCommerce integration, open the Selfnamed plugin in your WooCommerce dashboard, enter your billing details, and sync your products individually or in bulk. Publish them to your store, enable shipping in the Delivery section, and sync orders to keep Selfnamed and WooCommerce aligned.