Wix
Step 01: Connect Your Store
Integrate Wix with Selfnamed
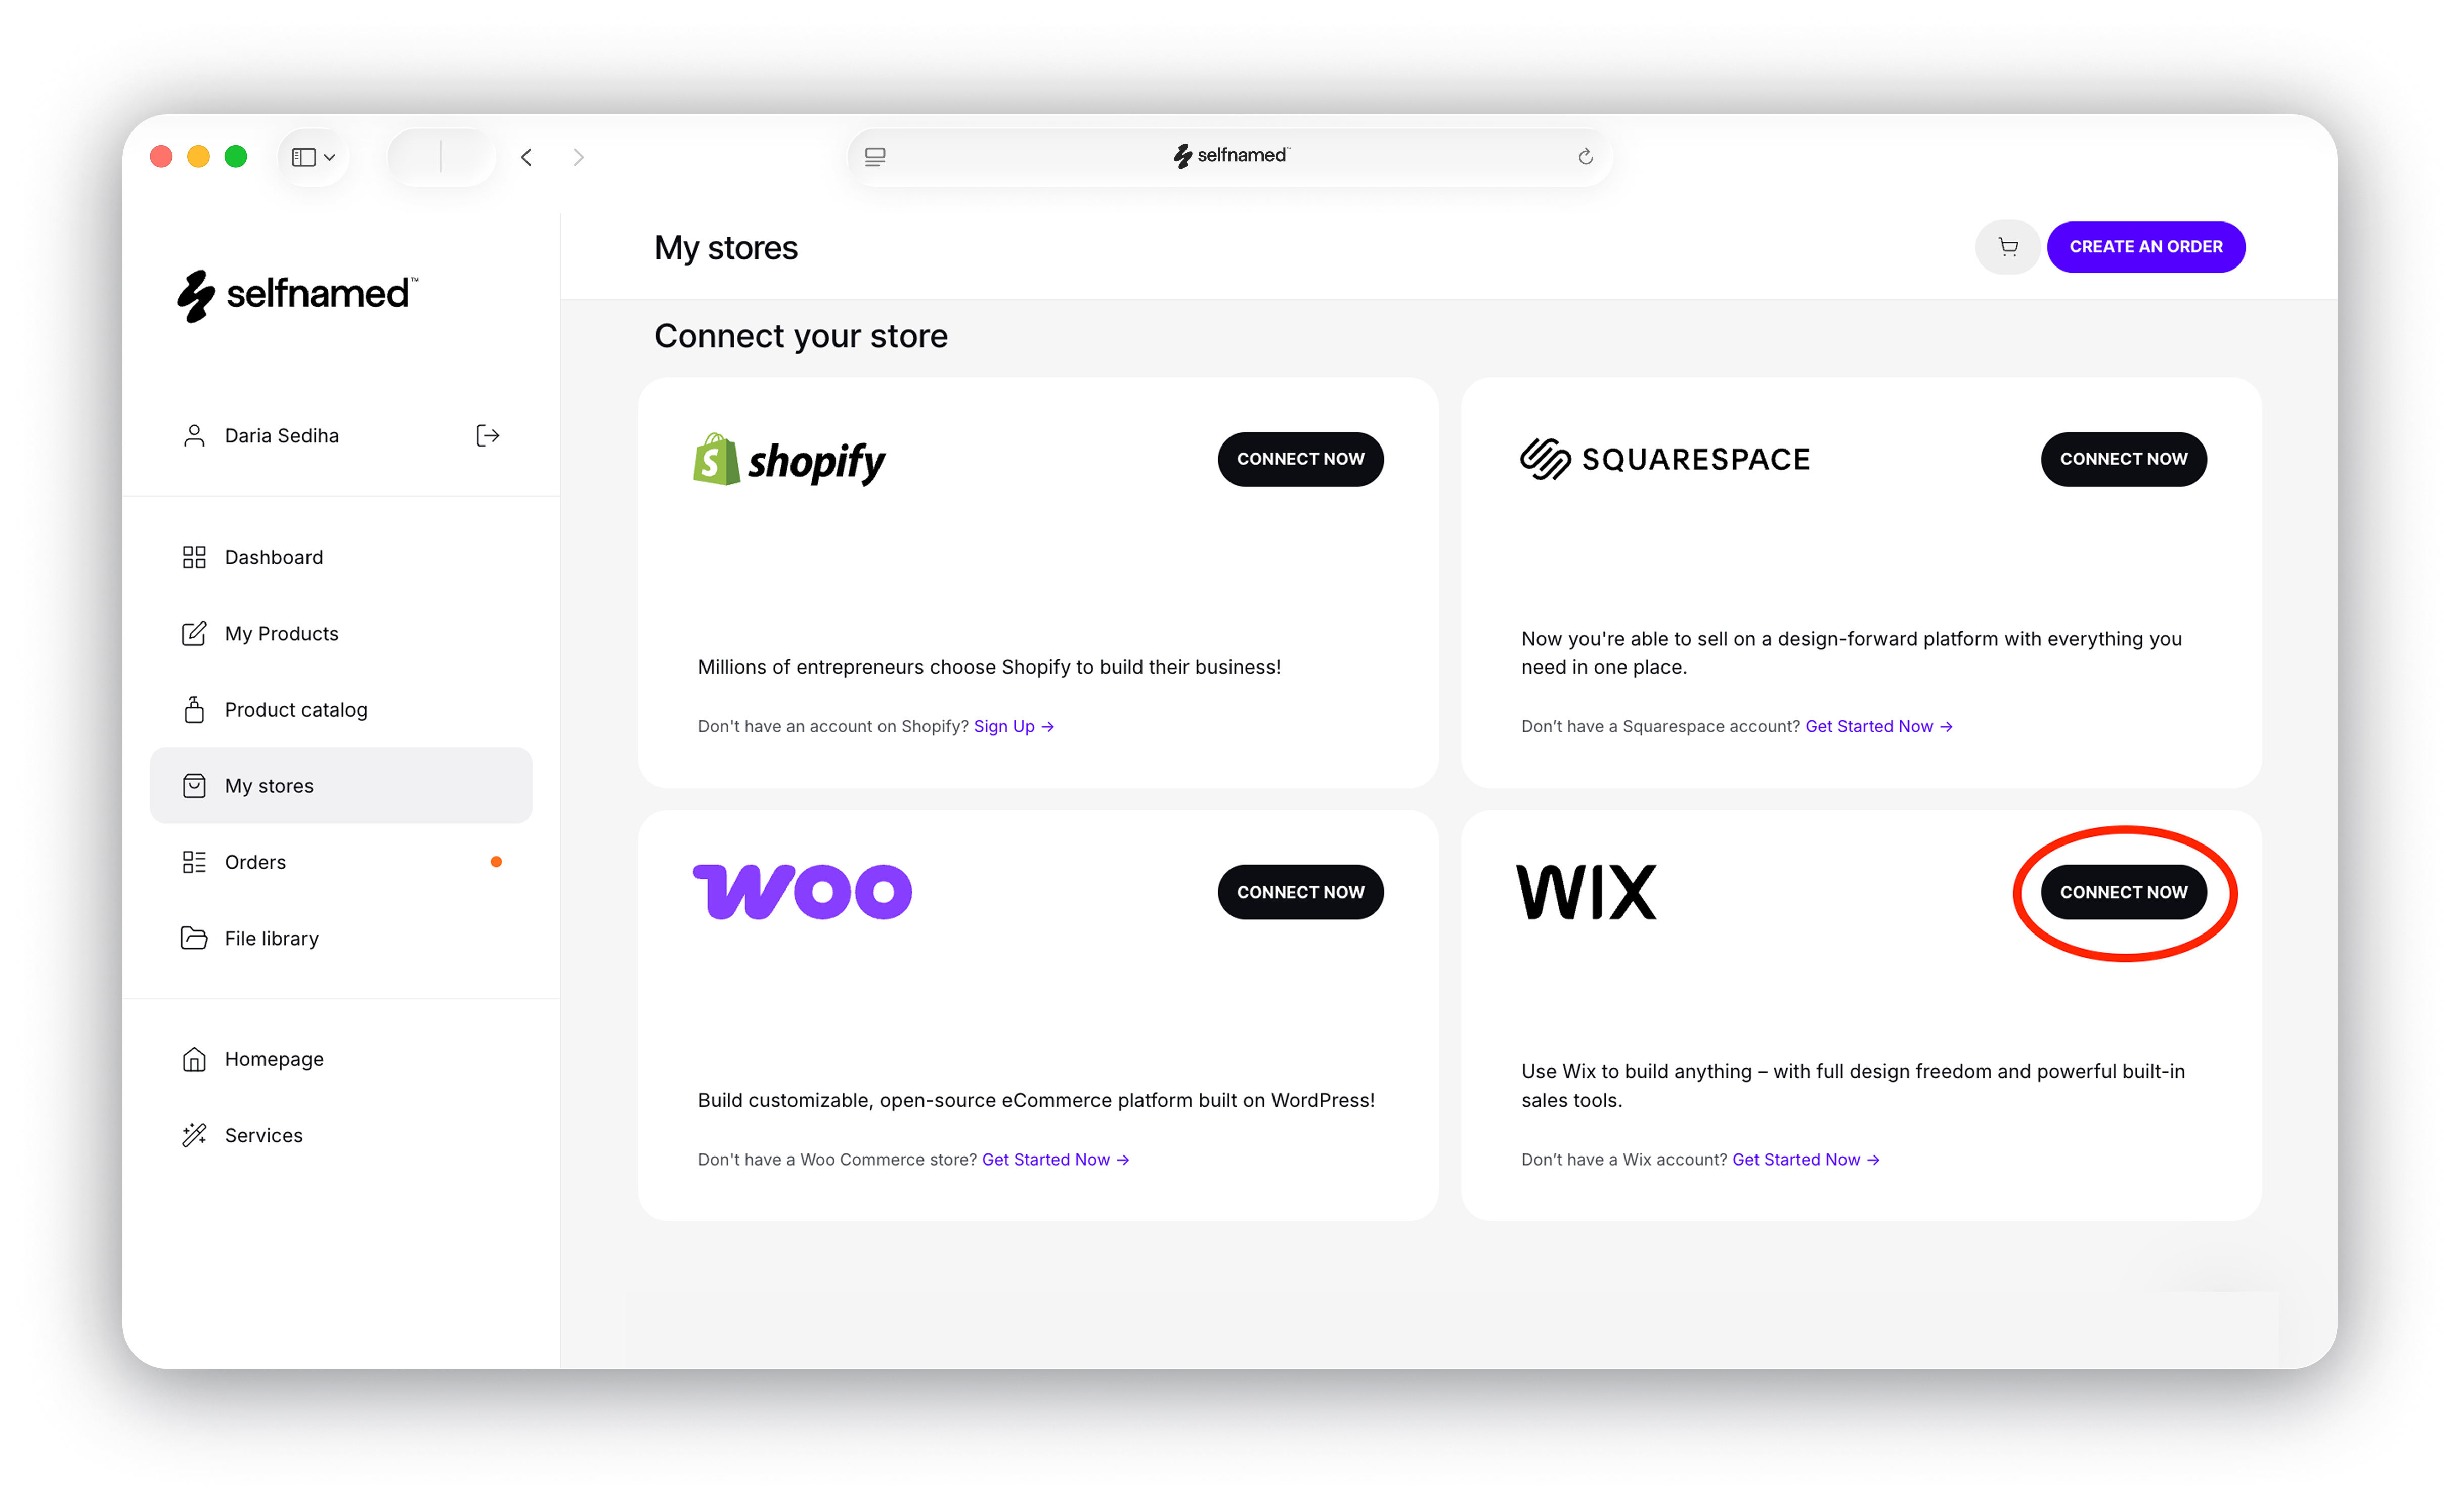
Log in to your Selfnamed account using your credentials and navigate to your profile dashboard. From there, select My Stores to begin adding a new store. Locate the Wix option and click Connect Now to start the integration. Before proceeding, you will be asked to review and accept the Dropshipping Terms of Service. Once accepted, you will be redirected to Wix to approve the connection. Select Allow to authorize Selfnamed access to your store. You will then be redirected back to Selfnamed, where your Wix store will appear as securely connected.
Step 02: Add a Billing Method
Set Up Payments for Your Wix Store
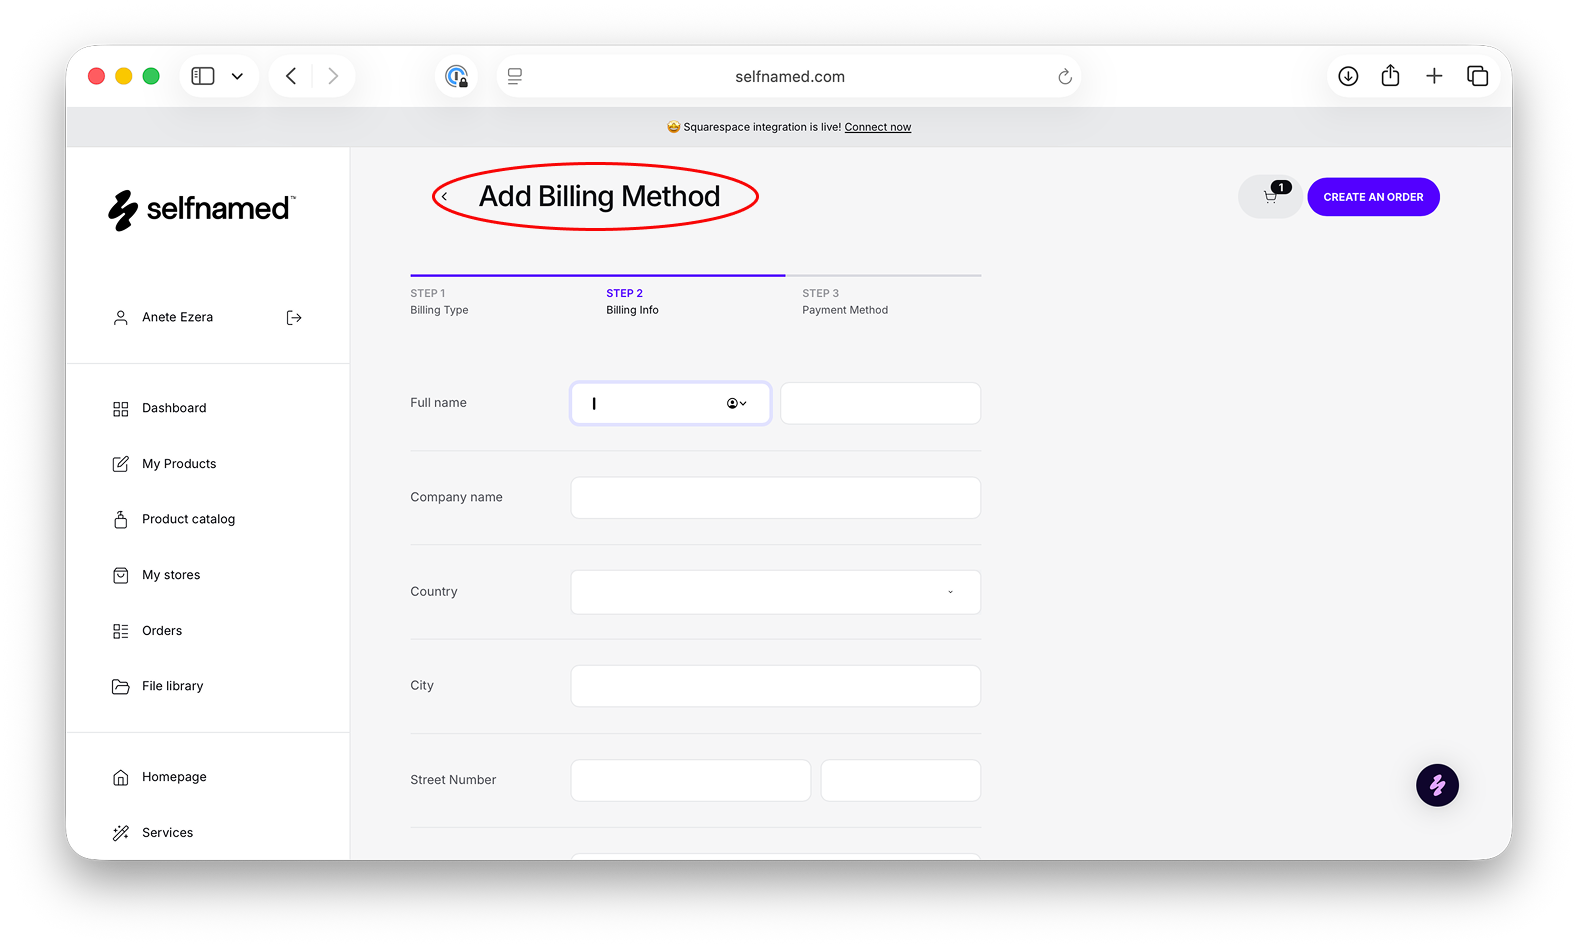
Before you can start selling, you need to add billing information to cover product and shipping costs for each dropshipped order. In your Selfnamed dashboard, go to My Profile and open the Billing section, then click Add Billing Method. Enter a name for the billing method and select the Wix store it should be applied to. Next, fill in your billing details and continue to choose your preferred payment currency. Enter your payment card details and save them to complete the setup. Once saved, the billing method will appear in your Billing section and your Wix store will be ready to process orders.
Step 03: Add Products & Sync
Upload Products and Keep Everything in Sync
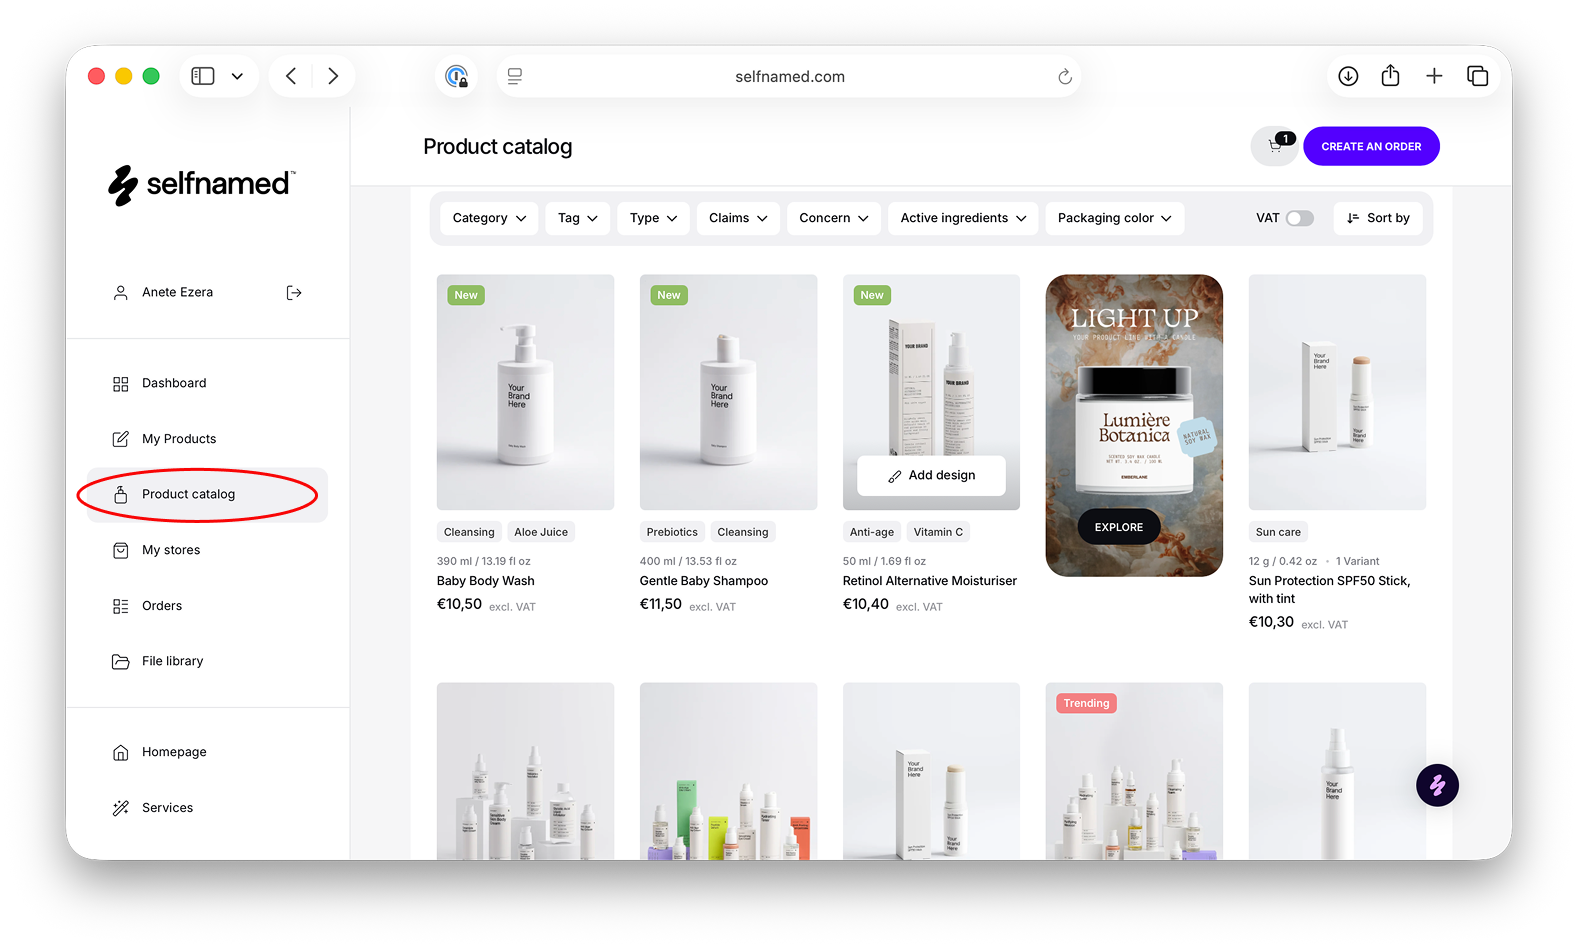
To start selling, create a new product from the Selfnamed Product Catalog or select one from My Products. Choose a product, create or select a design, and add it to your store. Select the Wix website, then enter the product name, price, and description, which will sync automatically and can be edited later. Choose mockup images to use as product photos and confirm to publish. Once your product is live, everything stays in sync automatically. Orders placed on your Wix store will show up in Selfnamed for fulfillment, and shipping updates and tracking are sent back to Wix automatically.